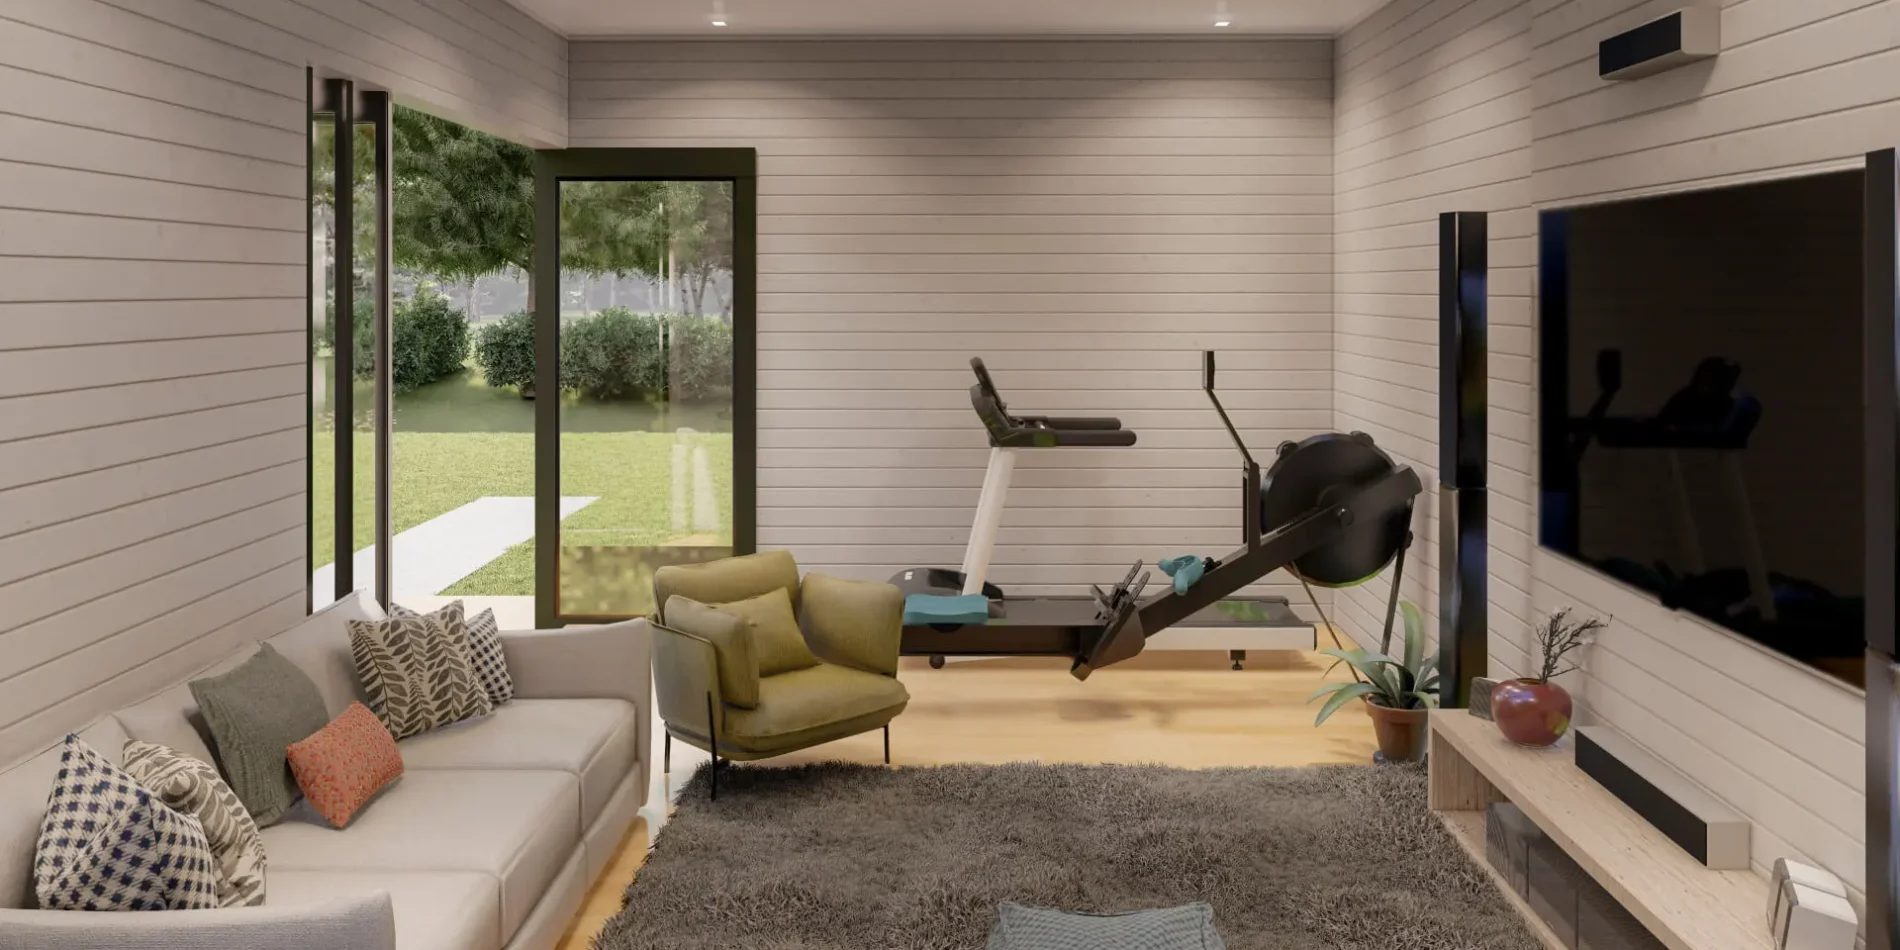
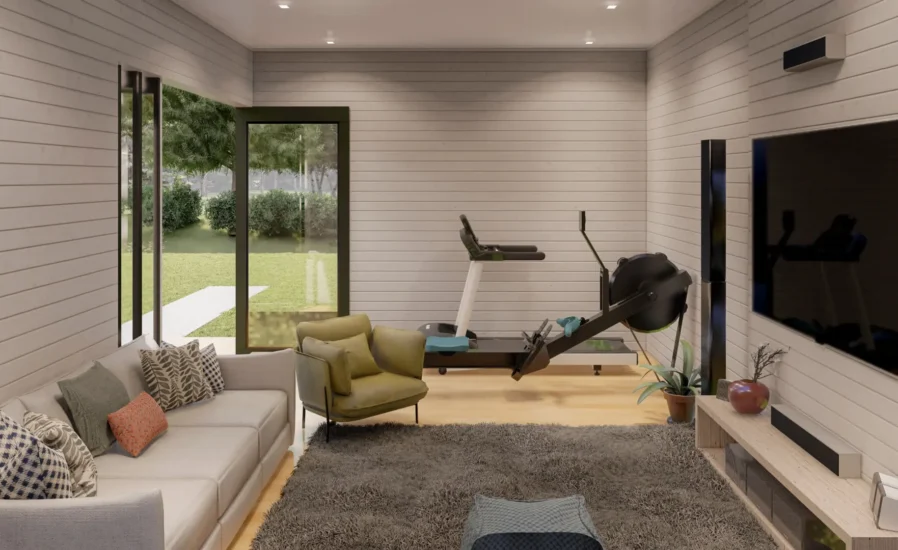
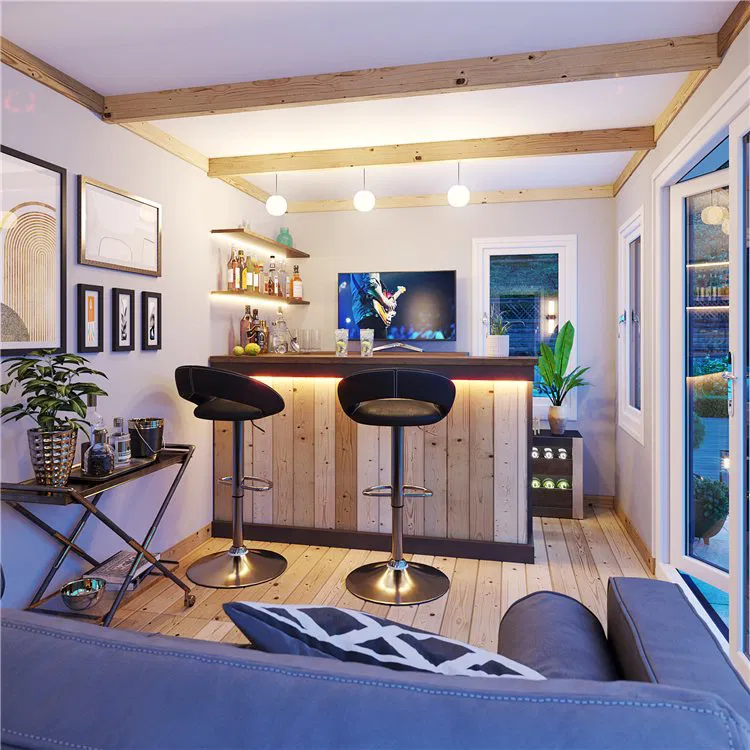
The SIP garden room finish is more than just decoration—it’s what transforms your insulated SIP structure into a fully functional and personal space. Whether you’re planning a sleek home office, a relaxing yoga studio, or your very own garden bar, the interior is where your vision truly comes to life.
While All Season Garden Rooms supplies expertly manufactured SIP Kits (including floor, walls, and roof panels), we do not provide internal finishes as standard. However, we’re happy to guide you through the next steps so you can confidently complete your build to a high standard.
Why We Don’t Include Internal Walls or Finishes
Because our SIP panels already form a fully insulated structural shell, there’s no need for additional insulated internal walls. It’s often more cost-effective to fit standard stud walls if you want to divide the space. This approach also gives you more flexibility with your layout and design of the SIP garden room finish.
How to Finish the Interior of Your SIPs Garden Room
Here’s a step-by-step overview of how to finish your garden studio once it’s been built to shell:
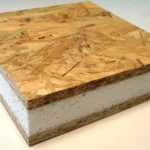
1. Install a Vapour Membrane (Vapour Control Layer)
Before anything else, apply a vapour membrane to all internal surfaces—floor, walls, and ceiling. Be sure to seal all joins and gaps with appropriate tape. This layer is essential for protecting your SIPs from moisture ingress, which can lead to deterioration of the OSB or insulation over time.
2. Fit Vertical Timber Battens
Attach timber battens vertically to your SIP walls. These create a service void, allowing you to run electrical cables safely without interfering with the SIP core.
⚠️ Important:
Never run electrical cabling directly inside a SIP panel. The sheathing on standard electric cable can react with EPS insulation. If any cables must pass through a SIP, they should be sleeved using plastic plumber’s pipe for protection.
3. Plasterboard & Skim
Once the service void is in place, you can board out the walls and ceiling using plasterboard, then skim for a smooth, clean finish. This gives you a blank canvas for your decorative finishes.
4. Choose Wall & Ceiling Finishes
Now the fun part begins—making it yours! From paint and wallpaper to cladding and panelling, the options are endless. Your final look might depend on the intended use of your garden room, your personal style, or your budget.
5. Flooring
Flooring can dramatically change the feel of your space. Be sure to install an underlay over the SIP floor panels before fitting your chosen material. Options include:
- Laminate
- Vinyl
- Carpet
- Engineered wood
- Tiles
Get In Touch!
📩 Have a question or ready to place an order?